How Can We Help?
Search for answers or browse our knowledge base.
How to create, start & stop Discover scans in Symantec DLP
Creating a new scan
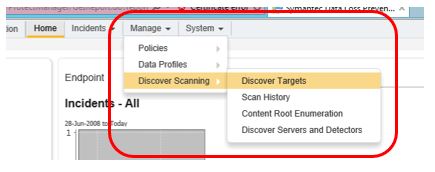
- In order to create a new scan, go to Manage -> Discover Scanning -> Discover targets.
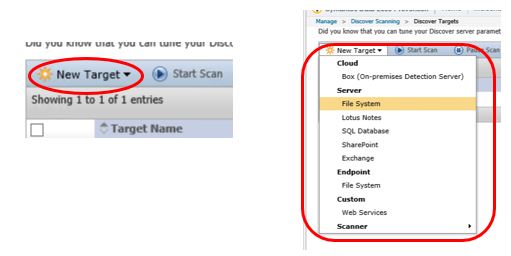
- From here to go new target, and then choose the applicable new scan you would like to add (in this case File System).
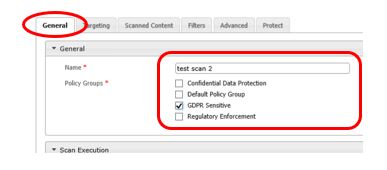
- From here you can enter the name of the scan and select which policy group(s) you would like it to scan for.
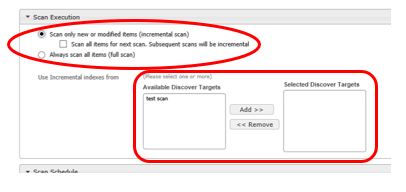
- Below General you have Scan Execution which lets you set how the scan is run. You have the option to run a full scan, an incremental scan or a full scan with subsequent scans being incremental.
Additionally you can use Incremental Indexes from Available Discover Targets and Add or Remove them to Selected Discover Targets.
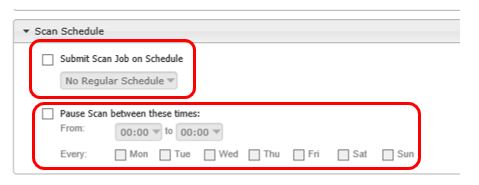
- Under this you will find the Scan Schedule box, from here you can select scans to run on a schedule or alternatively choose certain time frames to pause the scan at certain times on chosen days.
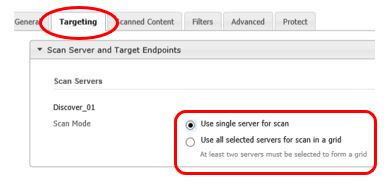
- On the Targeting tab you can decide whether to use a single server for scanning or to use all selected severs for scanning in a grid (use single sever is the default setting).
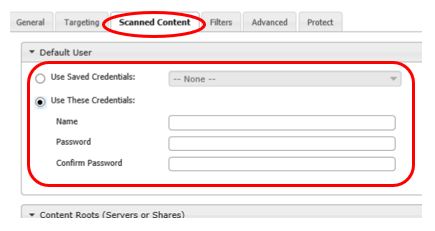
- On the Scanned Content tab you can choose which Content to scan and which Credentials to use.
In the Default User box you can use Saved Credentials should you have them or put in Custom Credentials consisting of a Name and Password.
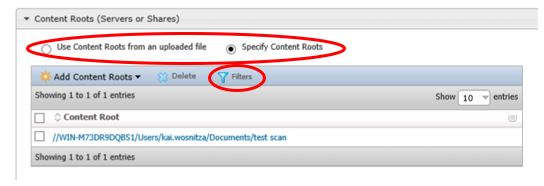
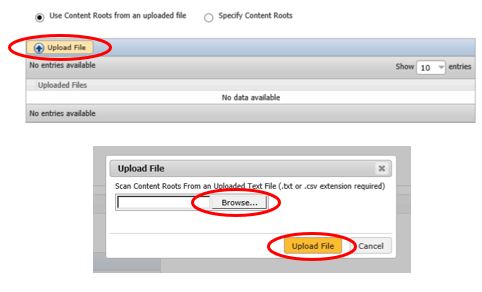
- In the Content Roots box you can select what you would like to scan, this can be from an uploaded file or alternatively you can specify the content root. You can also apply Filters as well.
- If uploading, select Upload File then Browse to the relative directory and then select Upload File.
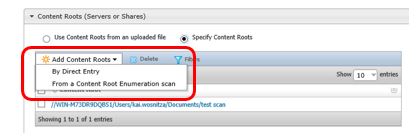
- When specifying the content root, go to Add Content Roots and then select either By Direct Entry or From a Content Root Enumeration scan.
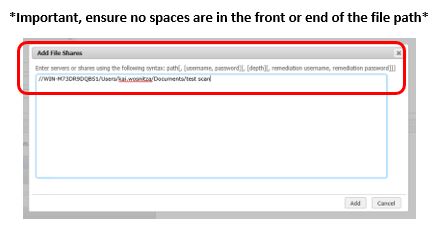
- If going By Direct Entry, enter the root for the servers or shares you would like to scan and then click Add.
*Important, ensure no spaces are in the front or end of the file path*
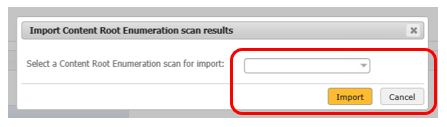
- If selecting Content Root Enumeration scan, select the content root enumeration scan you would like to import and then click Import.
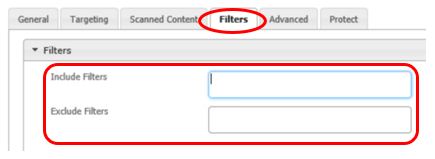
- On the Filters tab you can opt to Include or Exclude Filters. These have to be very specific and you should consult the Admin Guide should you need to do this. We generally use the following exclude filters for our scans:
*.adm, *.aw, *.bdr, *.bin, *.cab, *.cat, *.chm, *.com, *.cpl, *.cur, *.dat, *.dl_, *.dll, *.dll_1033, *.drv, *.exe, *.fae, *.hlp, *.ime, *.inf, *.ini, *.inx, *.lnk, *.mecontact, *.mof, *.mui, *.nls, *.ocx, *.pnf, *.so, *.sys, *.tcl, *.tlb, *.tpi, *.ttf, *.ver, *.vxd, *.windowslivecontact, *.windowslivegroup, *.wmf, *.xsn, *.acr, *.ani, *.asf, *.b3d, *.bmp, *.bpm, *.cam, *.clp, *.cr2, *.crw, *.cur, *.dcm, *.dcx, *.dds, *.dib, *.djvu, *.ecw, *.emf, *.fsh, *.g3, *.gif, *.grd, *.icf, *.iff, *.icl, *.ico, *.ima, *.img, *.iw44, *.j2k, *.jng, *.jp2, *.jpc, *.jpe, *.jpm, *.kdc, *.lbm, *.ldf, *.lwf, *.mng, *.nlm, *.ng, *.nol, *.pcd, *.pcx, *.pgm, *.png, *.ppm, *.ppx, *.psd, *.psp, *.ras, *.raw, *.rgb, *.rle, *.san, *.sff, *.sdf, *.sfw, *.sgi, *.sid, *.wbmp, *.xbm, *.xpm, *.aif, *.au, *.avi, *.lrc, *.med, *.mid, *.mov, *.mp, *.mp3, *.mp4, *.mpe, *.mpg, *.mpeg, *.ogg, *.ra, *.rm, *.rmi, *.snd, *.wav, *.wma, *.wmv, *.jpg, *.jpeg, *.tif, *.tiff
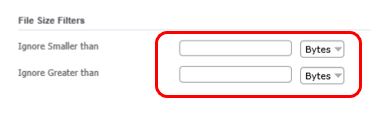
- You can also add Filters which filter by file size be it Smaller than or Greater than. We tend to ignore smaller than 30 bytes and ignore larger than 30mb.
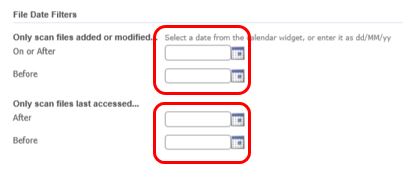
- You can also choose to filter by file date, so only scan files which have been Added Before or After a certain date and/or only scan files which were Accessed Before or After a certain date.
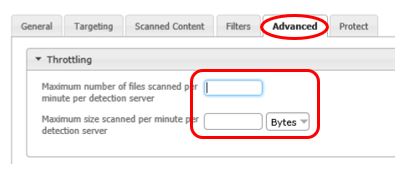
- Moving onto the Advanced tab you can throttle the scan by setting a maximum on the number of files scanned per minute or a maximum on the number of bytes/kb/mb scanned per minute.
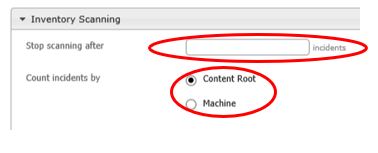
- In the Inventory Scanning box you can choose stop the scan after it’s reached a number of incidents and to select the Incident Count by either Content Root or Machine.
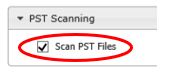
- The PST Scanning box lets you select to scan for PST Files (on by default).
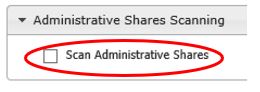
- The Administrative Shares Scanning box lets you scan for Administrative Shares (off by default).
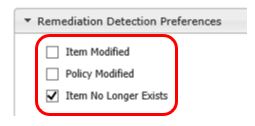
- In the Remediation Detection Preferences you can choose from the below options (Item No Longer Exists is ticked by default).
- On the Protect tab you can go to the Allowed Protect Remediation box and select Copy, Encrypt and/or Quarantine if applicable (none selected by default).

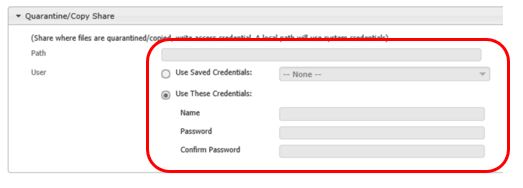
- In the Quarantine/Copy Share box you can setup a path where the files are quarantined/copied and add the relevant access credentials.
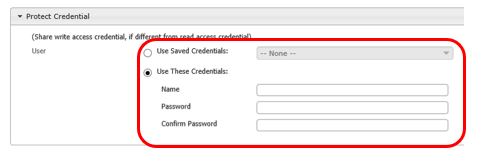
- In the Protect Credential you can add different credentials in the event that the share write access credentials differ from the read access credentials.

Starting, Stopping and Pausing a scan
- To start, stop or pause a scan go to the Discover Targets page via Manage -> Discover Scanning -> Discover targets.

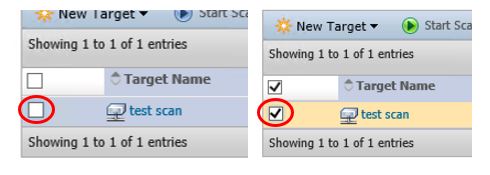
- Go to the scan you want to select and then select it by clicking the box.
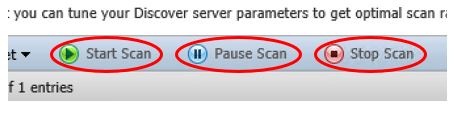
- From here you can select whether you want to start, stop or pause the scan.
- To edit a scan, either click on it or press the pencil icon on the right of the screen.

